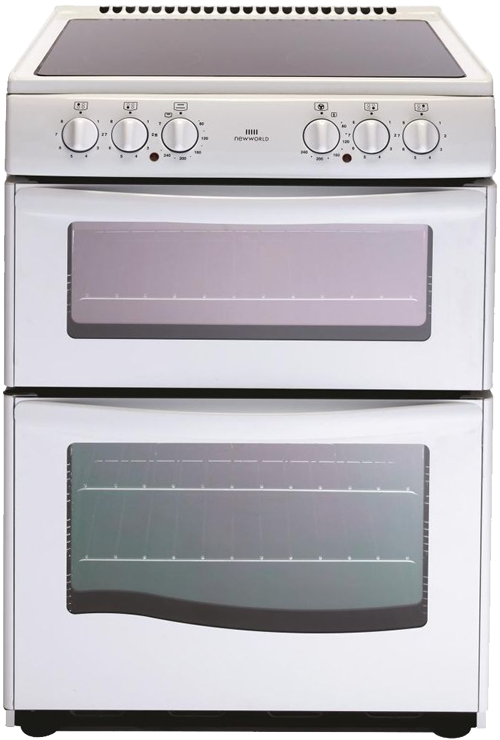
How to change a gas burner cup on a cooker Indesit K341G
 How to change a gas burner cup on a cooker Indesit K341G
- Safety First:Remove the Plug from the Mains Socket

- Tools required: A Phillips Screwdriver and a 15mm spanner
- This video is for guidance only any work carried out on the gas supply must be carried out by a gas safe registered approved engineer
http://www.gassaferegister.co.uk/about/what_is_gas_safe_register.aspx - K341G W/G
- Locate the burner control knobs
- Grip the control knob and pull towards you
- Pull the burner control knob off of the gas tap
- Pull the remaining burner control knobs off of the gas taps
- Burner control knobs removed
- Using the phillips screwdriver remove the dashboard retaining screws
- Remove further dashboard retaining screws
- Slide the dashboard to the left
- Pull the dashboard forwards and remove it
- Make a note of the wires (a photograph is useful) and remove them
- Wires removed
- Remove the burner cap to all burners
- Remove the burner base to all burners
- Using the phillips screwdriver remove the burner cup retaining screws
- Remove the burner cup retaining screws on all burner cups
- Burner cup retaining screws removed
- Using the phillips screwdriver remove the hob top retaining screws
- Remove further hob top retaining screws
- Remove further hob top retaining screws
- Remove further hob top retaining screws
- Lift the hob top up and remove it
- Hob top removed
- Locate the burner cup to be replaced
- Grip the ignition electrode clip and squeeze to release it
- Pull the ignition electrode clip out of the burner cup
- Grip the ignition electrode and pull upwards
- Remove the ignition electrode from the burner cup
- Ignition electrode removed from the burner cup
- Using a pencil mark the top of the gas tube central to the burner cup
- Using the 15mm spanner release the retaining nut
- Undo the retaining nut
- Remove the burner cup from the gas tube
- Burner cup removed
- Take the new burner cup from its package ensuring its correct for the appliance

- Fit the new burner cup onto the gas tube
- Screw the retaining nut into the burner cup
- Line the pencil mark central to the burner cup & tighten with the 15mm spanner
- New burner cup in place ready to refit the electrode
- Refit the ignition electrode
- Push the ignition electrode down into place
- Refit the ignition electrode clip
- Push the ignition electrode clip into the burner cup
- Ignition electrode and clip in place
- Make sure the hob top is located at the rear
- Lower the hob top down making sure the burner cups locate properly
- Using the phillips screwdriver replace the hob top retaining screws
- Replace further hob top retaining screws
- Replace further hob top retaining screws
- Replace further hob top retaining screws
- Hob top in place with burner cups located
- Replace the burner cup retaining screws
- Replace further burner cup retaining screws
- Replace further burner cup retaining screws
- Replace the burner base to all burners
- Replace the burner cap to all burners
- Replace the wires to the ignition switch
- Reposition the dashboard
- Slide the dashboard to the right to locate it
- Replace the dashboard retaining screws
- Using the phillips screwdriver tighten the dashboard retaining screws
- Dashboard in position
- Note the shape of the aperture on the knob
- Place the control knob onto the gas tap
- Push the control knob all the way onto the gas tap
- Replace the burner control knobs onto the remaining gas taps
- The appliance is now ready for use
Disclaimer: The information provided has been prepared as a guide only and the steps taken are likely to vary for different appliance models. We strongly recommend using a qualified engineer to undertake major repairs and fault finding.


Comments